
I took a forward-looking approach in this run, which really means that I skipped some pieces to potentially save on rebuilds. In a “normal” playthrough, you’d optimize a bit of Nauvis with some red belts and more effective smelters. You’d likely use beacons as well. You’d create purple and yellow science. And then you’d launch a rocket.
I did not do that. And consequences followed.
First, the smaller build space on Nauvis is a good thing. It requires me to be more effective in the designs. What is saves me in long belts it costs me in undergrounds + splitters mind you, so the material costs are arguably higher. Power is substantially more efficient though, and a whole lot less poles. I skipped upgrading to red belts and everything that follows. While I had crafted logistics containers, I didn’t actually use any until the first rocket went up.

That was the point where I realized I had a more difficult path ahead.
It is entirely possible to build a space platform with basic logistics. Storage containers are all you really need as the rockets will self-request. Taking the platform to Vulcanus was simple, landing was a relative breeze, and set up was quite fast. It certainly helps when you know what you need for a first landing! (Funny story, I forgot to add a Landing Pad and had to reload a save. Well I thought it was funny.)
Vulcanus has 4 main phases, though folks are likely only to see 3. The initial setup, which is about unlocking foundries and big miners. The mid-game which makes the planet self-sufficient for rockets, meaning LDS, rocket fuel, and blue chips. The late game when you’ve unlocked Aquilo and realize that all chips can be made for free and super speed on Vulcanus. The end game, when you then realize that Vulcanus is the absolute best factory planet in game and you transfer 90% of production there.
Sidebar. I recall in Satisfactory the first few run-throughs I absolutely didn’t account for scale and needed to rebuild the entire factory. And then I’d unlock something new and realize I had to do that again. That game doesn’t naturally support modular design and scalability, you need to bring the mindset with you. And mods. The 3D layouts and free-form placement are unique, and the challenge is in that freedom. Satisfactory works on a 2D grid and has a pile of automation. Scaling is extremely simple, and moving a factory 2 spots to the right is a mouse click.
Back to Vulcanus, or rather all planets for that matter. Accelerating to get to phase 4 is friggin hard-mode. Without purple/yellow science on Nauvis, you need to build a main transport hub on Vulcanus and then transport it back to Nauvis. This is very expensive, as blue chips are a nightmare to build before Fulgora is unlocked. Did I mention that blue chips are needed for yellow science? The good news in this is that while they are very expensive to make, they are infinitely cheaper on Vulcanus than on Nauvis. But wait there’s more!
Blue chips need plastic, which can only be refined from oil products. There is no oil on Vulcanus, so you need coal liquefaction, behind purple science. You see how this is a catch-22? To get blue chips, you need blue chips to send rockets of purple science to Nauvis. But the devs thought of this and gave us simple coal liquifaction, which produces heavy oil from calcite + coal. Using that recipe, I can kickstart plastic generation with a rather complicated oil factory. Blue chips –> purple science –> get me the Fulgora ASAP.
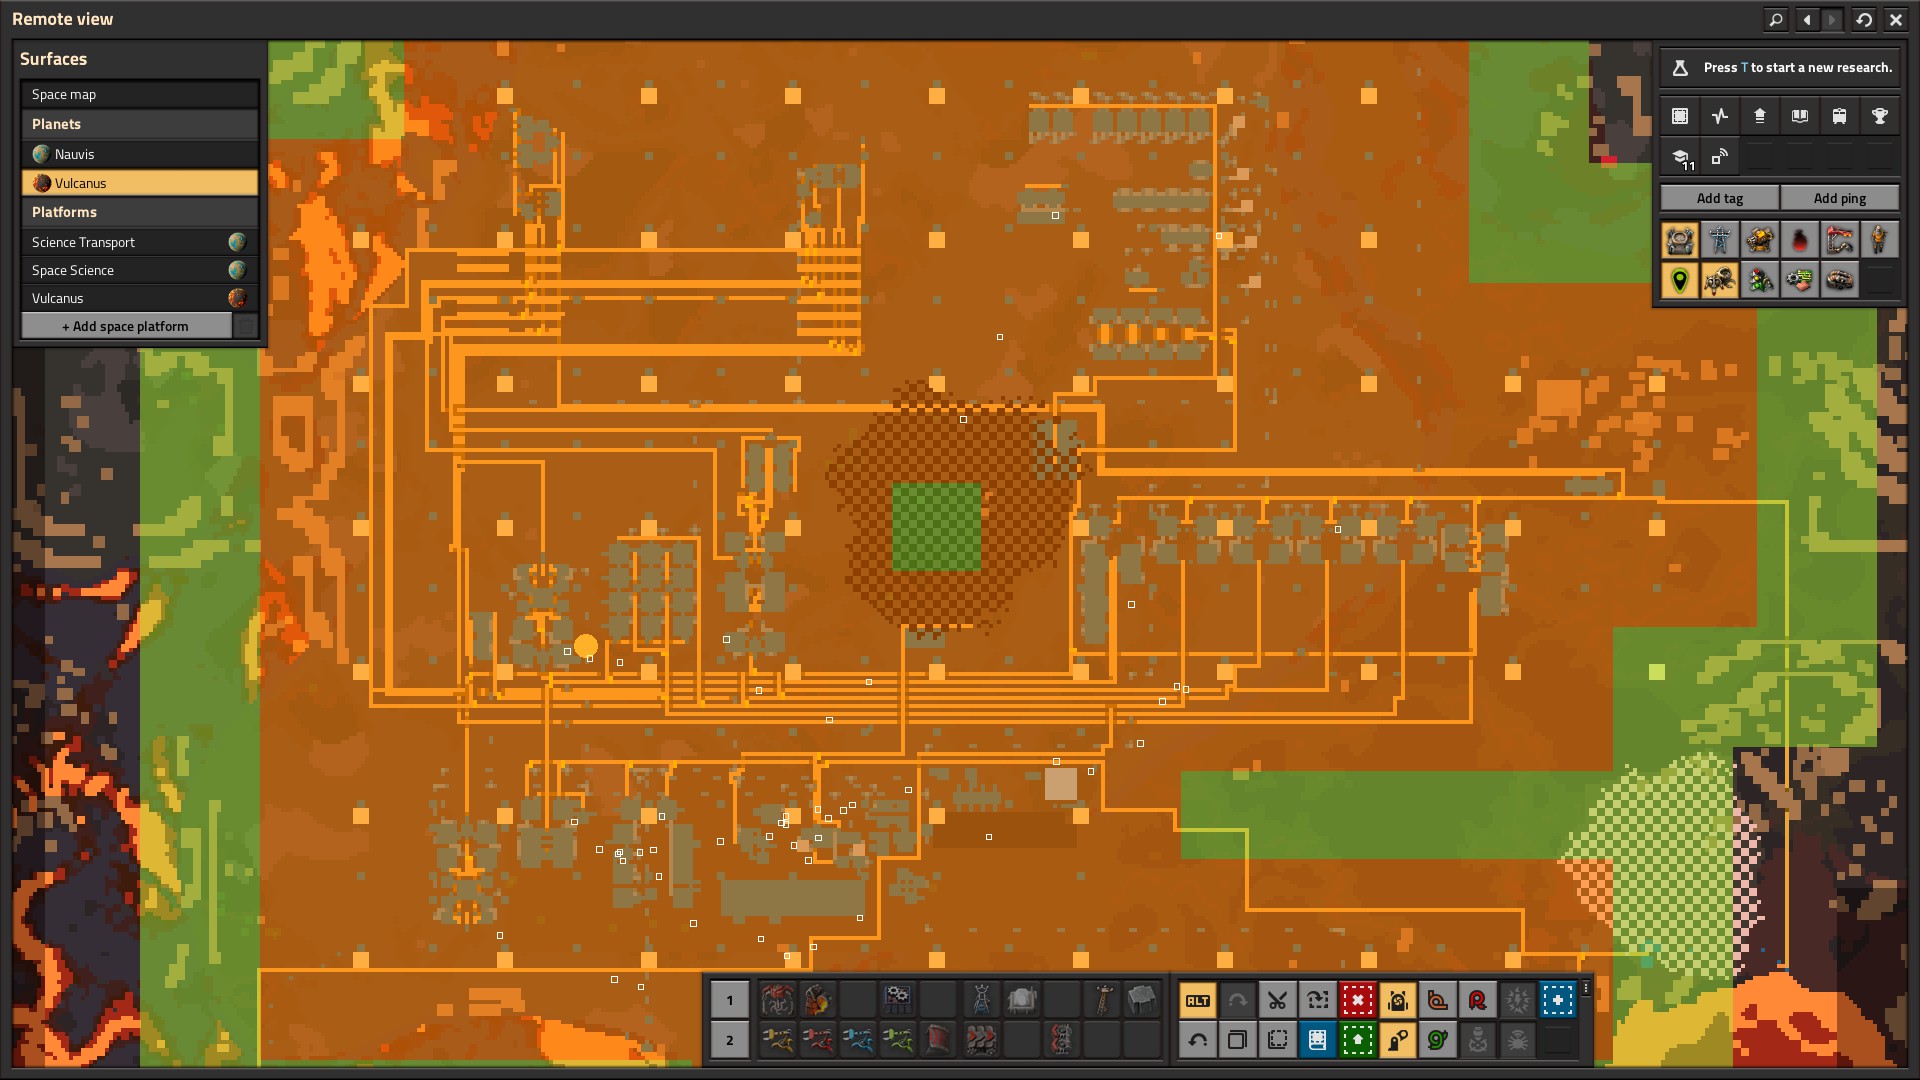
Oh, and during this time I needed to lay out some rail networks to get copper + iron to my Nauvis factory. Big miners do wonders here as they are 5x more efficient and only consume half the resources. Foundries are not an option, as I can’t efficiently ship calcite to Nauvis yet. 50×50, ground-based rail systems are I guess “easy” to build, but the space limitations really play a number on making it all work. Actually being on the planet would make it a lot easier, but that’s not really an option right now.
I’m heading to Fulgora now, and the electromagnetic plants are the absolute priority. They will practically trivialize chip production and shift the game into overdrive. Oh how I am looking forward to that!
